Maven Project in Netbeans 8 with JPA 2.1, Hibernate 5 and SQL Server 2012 database
This work begin with connect SQL Server 2012 database in Netbeans. I show how it do in Add connection in Netbeans 8 to the SQL Server 2012 database post and I show how set driver for SQL Server 2012 in post How add SQL Server 2012 driver to Netbeans 8?
If you set driver for SQL Server 2012 and set connection in Netbeans 8 you can create Maven project.
Choose in Netbeans 8 IDE from menu File->New Project.
The windowNew Project was displayed. From Categories section choose Maven and from Projects choose Java Application.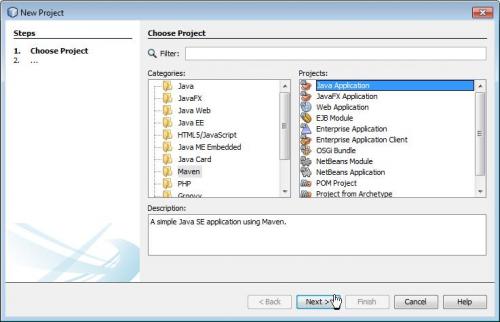
Click the Next button. The New Java Application appears. In Projects Name field write AppMaven name.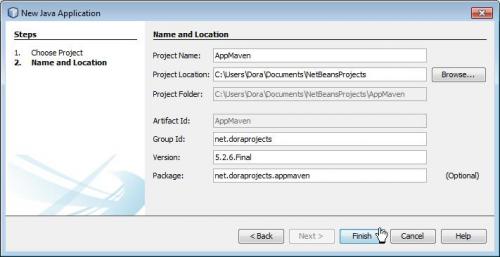
Click the Finish button. Look at Projects window in IDE.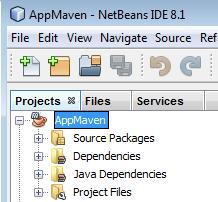
Expands nodes in your project. Right click the pom.xml file and coose Open.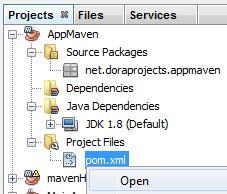
You see source this file:
It is configuration file for Maven project.
Go to the website with Maven repository:
http://mvnrepository.com
and write and search dependences for hibernate.
Choose Core Hibernate.
Click the last version. You may download JAR file or copy dependence for Maven configuration file.
In pom.xml file create dependencies element and from Maven repository website copy this dependency and paste it in pom.xml file in Netbeans.
In the same way search and copy JPA dependency:
And SQL Server 2012 dependency:
so I select the version in dependency.
OK. This part work is done. Now You may create Entity class for table in database. If you have mydb database and not created in it department table, for new table file named Department.
Right click the Source Package node and choose Entity Class.
If it is not available click the Other and in New File window select Persistence from Categories and Entity Class from File Types and click the Next button.
In New Entity Class window write in Class Name field Department and in Package write any package for this class. To leave check Create Persitence Unit.
Click the Next button. You see New File window as this: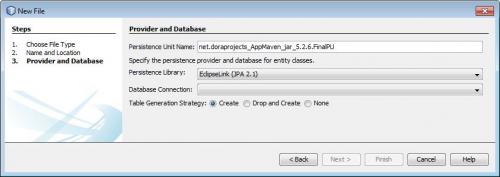 Select property connection to your database. If you hasn’t department table, can check
 Create button.
Click the Finish button.
The Department.java file and persistence.xml appear.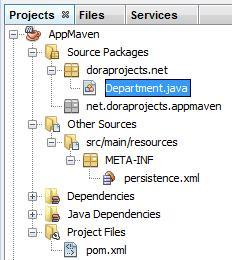
The table department in mydb database may have two columns: id and name. The generated entity has only one id column;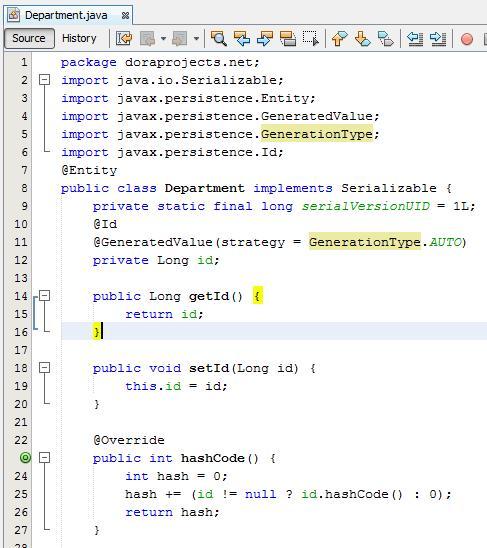 So you may add
 name field
and generate set and get methods for it:
The file after corrects : Look at
 persistence.xml file: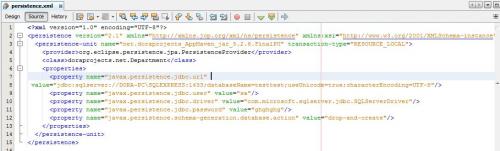
And in Design version:
And it is all dependencies in pom.xml file:
And the last work it is create main class for create department table and add data into it in mydb database.
So right click the package node and choose Java Main Class.
In Class Name write name of class: AddedData.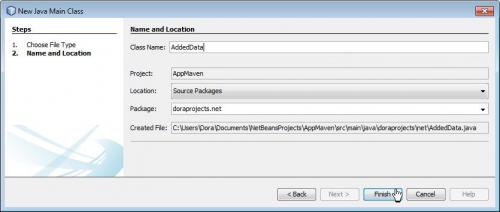 Click the
 Finish button.
In static method paste this code:
package doraprojects.net;

import javax.persistence.EntityManager;
import javax.persistence.EntityManagerFactory;
import javax.persistence.Persistence;

public class AddedData {

public static void main(String[] args) {

EntityManagerFactory entityManagerFactory =
Persistence.createEntityManagerFactory("net.doraprojects_AppMaven_jar_5.2.6.FinalPU");

EntityManager entityManager = entityManagerFactory.createEntityManager();
entityManager.getTransaction().begin();

    Department d1 = new Department();
    d1.setName("Financial");
    entityManager.persist(d1);

    Department d2 = new Department();
    d2.setName("Accountancy");
    entityManager.persist(d2);

entityManager.getTransaction().commit();
entityManager.close();
entityManagerFactory.close();

    }

}
Run application.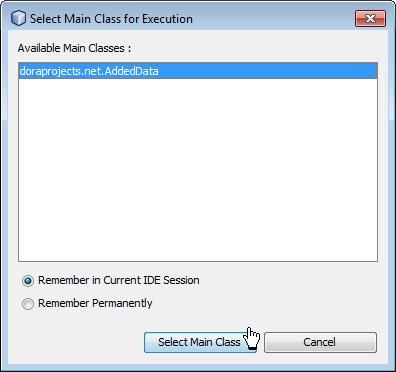
If this window appears, click the Generate button.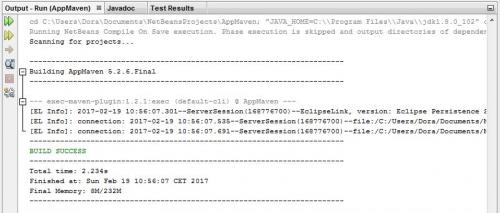
Before Tables node in database: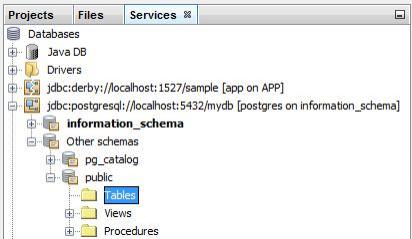
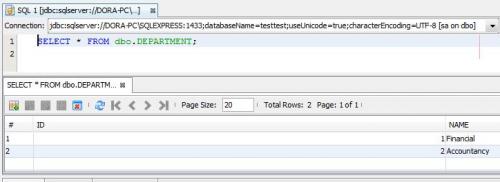
After run application: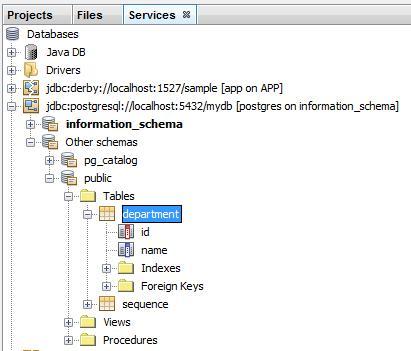 If you view data set, you see data in table which you insert into main class: